Having an efficiently working electrical system is paramount to powering your home and keeping it comfortable. While the team at RTR Electric advises extreme caution against taking on an electrical wiring project on your own, we do understand that some homeowners may want to be aware of the process before letting in residential electricians to start on the project. If you’re a curious homeowner who likes to be in the know about all your home improvement projects, this blog covers everything from planning to setting up circuits to performing the final test, so that you’re never in the dark.
Laying Down Residential Electrical Wiring: From Prep To Performance
Okay, let’s say you’ve got an electrical remodeling project planned for the next month, or maybe you’ve added a room, and you’re really curious about how expert electricians handle the wiring process. We’ve got you covered! Below is a simple yet comprehensive guide on how your residential electrical contractors go about powering your home.
Read along to be amazed at the intricacy!
Step 1: Layout Planning
First off, the electrical contractors will get a clear idea of your lifestyle, project blueprint, and requirements. This will help them plan the best places to install light fixtures, power outlets, and even the electrical panel. A meticulously planned electrical system isn’t just efficient; it also ensures that all your appliances receive power and your home is comfortable no matter where you are within.
Step 2: Circuit Division
Once they have a basic estimate of the energy consumption each part of your home is going to have, it’s time to divide the areas and appliances into different circuits. This ensures even distribution, prevents overloads, avoids flickering lights, and ensures that you aren’t at risk of an electrical fire.
Step 3: Turn Off The Power
Before doing anything, electricians will follow safety protocol. They’ll turn off the power at the main panel to ensure that there are no chances of electrocution while they’re at work laying down and connecting the wiring.
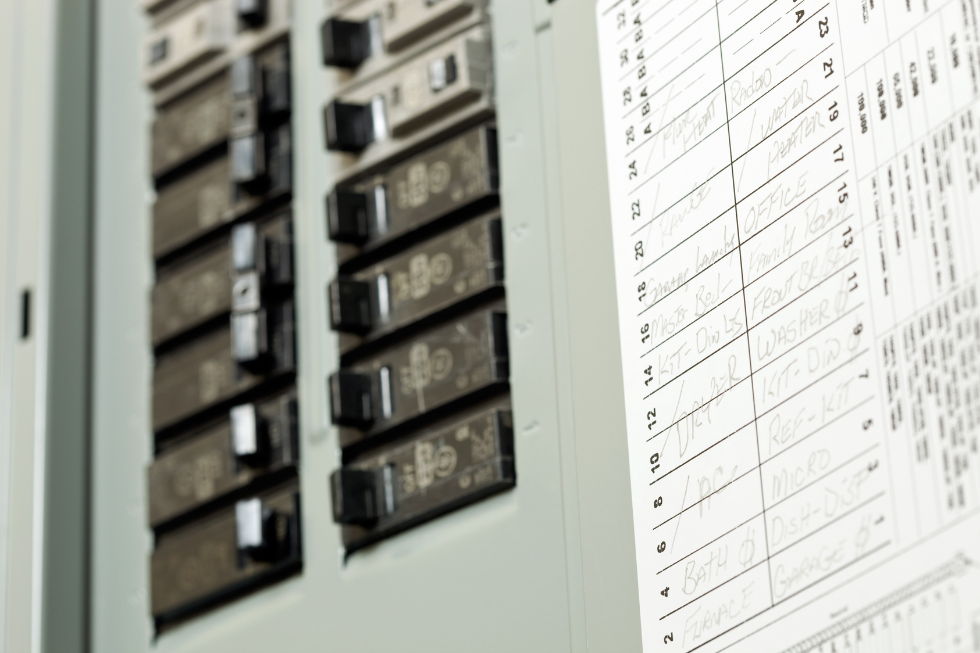
Step 4: Setting Up the Service Panel
Next, the electricians will install the service panel. This is the central distribution point for all the electricity, whether it’s a home addition or an upgrade. They will make sure each circuit is clearly marked to help with troubleshooting later on.
Step 5: Connecting The Wires
Next, the electricians will carefully connect all the wires. The black or live wires will be connected to the circuit breakers, while the whites will be connected to the neutral bars. As for the copper or green wires, they’ll be connected to the ground bars to keep your property and loved ones safe.
Step 6: Connecting The Devices
Next, the electricians will connect the black wires to the brass or copper screws, the white wire to the silver screws, and the ground wire to the green screw in the outlet. Once that’s done, they’ll connect the incoming hot wire to one terminal and the other wire leading to the device or light to a separate terminal to power them.
Step 7: Inspecting The Wiring
Once everything seems to be done, it’s time to conduct an inspection. Electricians will ensure that the connections are truly secure and that there are no exposed wires. Only ground wires can be out, while the rest stay hidden for safety reasons.
Step 8: Restoring The Power
Once satisfied with the electrical wiring setup, your electricians will go to the electrical panel and turn on the power to continue with further testing.
Step 9: Testing The Voltage
Next, each of the switches and lights will be examined to ensure efficient and safe performance. Experts may use a voltage tester for this step. If they do find an issue, they’ll turn off the power again to fix the problem.
| Note!
All the metal boxes, switches, and devices will be properly grounded for safety in case of a malfunction. |
Conclusion
To conclude, electrical wiring in homes is a simple yet intricate process that should only be undertaken by professionals. It requires meticulous planning, proper wire selection, careful grounding, and thorough testing so that your home is lit and your devices can receive power. We hope this blog satisfied your curiosity and gave you a new appreciation for the process. For more interesting insights, please drop us a line!
FAQs
Do I need a permit to update my home’s electrical wiring?
Yes. You need approval from local authorities for safety purposes.
How long does a home electrical wiring project usually take?
An average-sized project can take anywhere from ten days to three weeks.
What is the best material for home electrical wiring?
Due to its heat resistance and durability, copper wires are the best for residential properties.